- กระทู้ ผู้เขียน
- #1
ไปเจอมาตาม link เผื่อมีใครสนใจจะลองรื้อเอง เป็นภาษาอังกฤษนะครับ แต่ก็พอจะเข้าใจได้ตามรูป http://forums.nicoclub.com/zerothread?id=217546&postid=2284747 Tools Needed
-Torque Wrench
-Electric/Air ImpactGun/Wrench
-Hammer
-Flathead
-Common size sockets and wrenches of various sizes
-Medium sized tap or large screw driver (my large pry bar did the trick)
-Brake Cleaner
-Scotchbrite
-Gasket Scraper
-Gear Marker
-ThreadLocker
-Drain pan
-Cheap thick gear oil with Motorcraft Additive Friction Modifier (Provided by FRSport.com)
-Block of wood
-1 or more friends
Step 1
Prep the area with a long, clean, working table, with a clean table cover (large sheet of heavy duty plastic will do).
-Jack up the Car
-Drain the differential fluid
-Once drained, place the transmission in gear and make sure e-brake is engaged. Unbolt driveshaft from differential. 4 bolts 12 or 14mm.
-Remove sway bar and lower your exhaust by removing it off the hanger. (Makes your life easier.)
-There are 2 17mm bolts holding the differential to the underside of the car. Loosen those two bolts, do not fully remove.
-Remove (4) 17mm bolts from back of differential.
-Before lowering the differential try to move the axles out of the way.
-Now when you/'/re ready take off the two 17mm bolts you had loosened and carefully lower the differential with the jack.
Step 2
Bring your differential over to your working station.
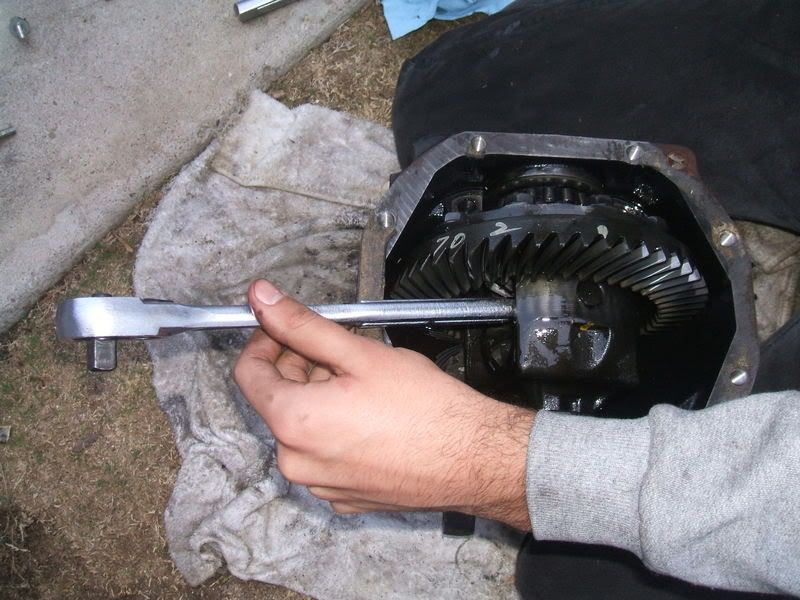
-Remove differential cover by unbolting with a 14mm ratchet in a criss-cross pattern.
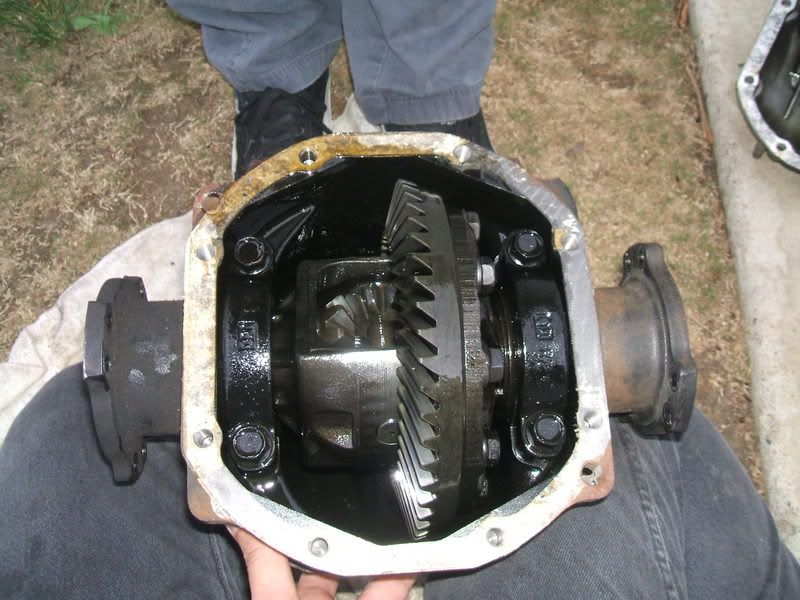
What it looks like once it/'/s revealed.
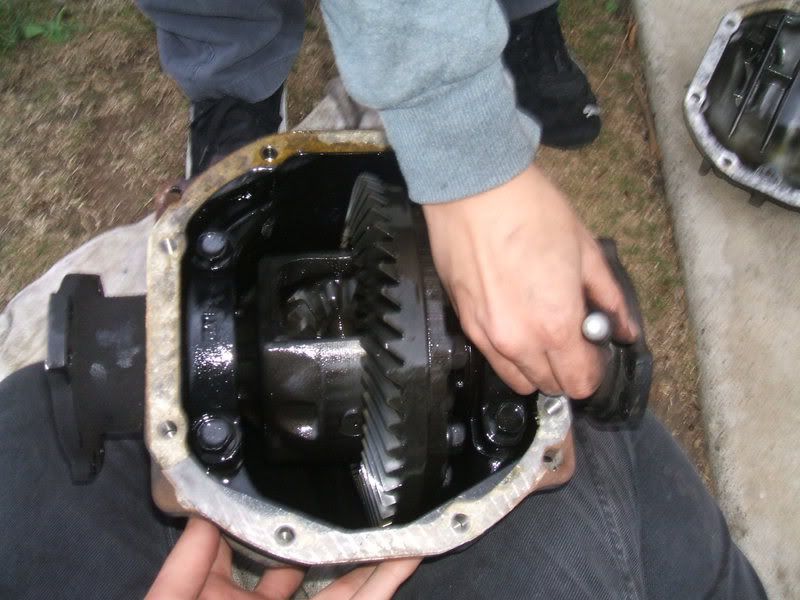
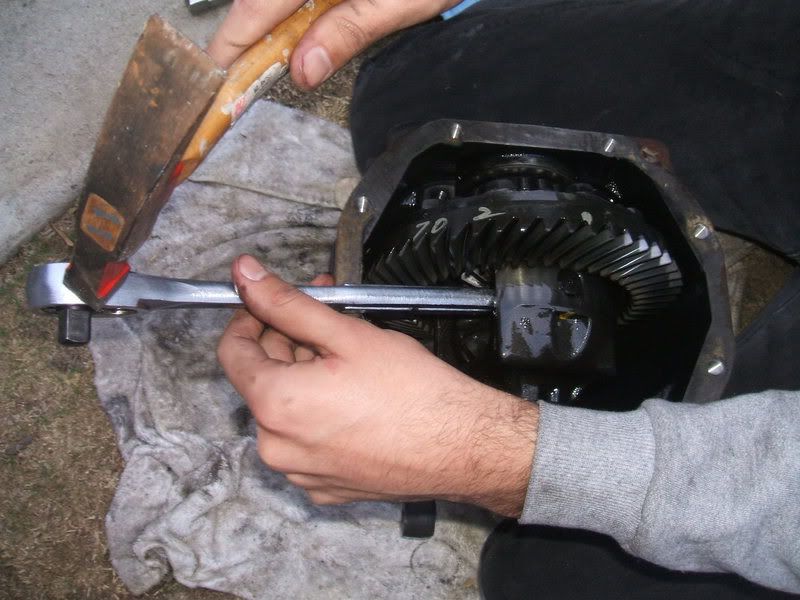
-Mark the axle shaft accordingly which side it came from.
-Now carefully, bang off the axle shaft with a hammer without hitting the ring gear.
-Once the axle shaft is off, place them on the clean table. You could put them on the side accordingly to where they came off on the table.
Step 3
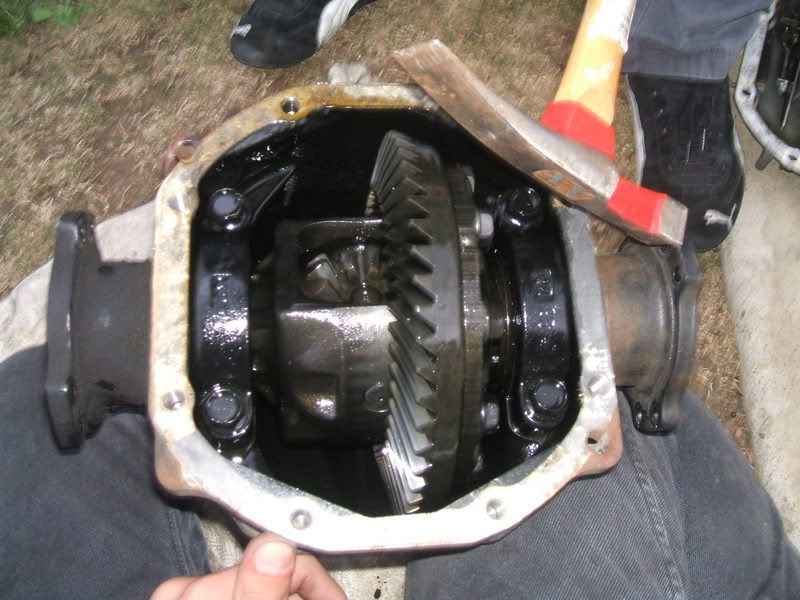
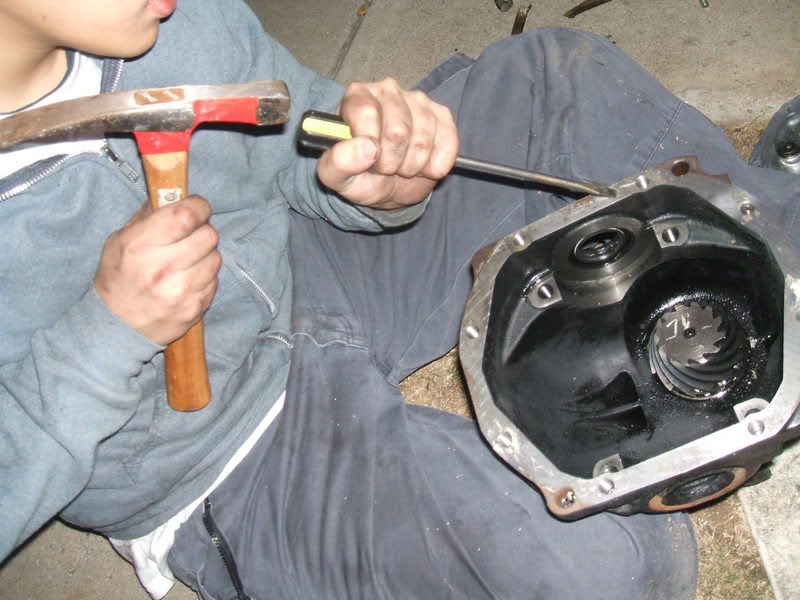
-Remove bearing cap bolts and bearing cap. Have a friend hold down the differential.
-Keep the bearing caps accordingly to which side and direction it came from.
Step 4
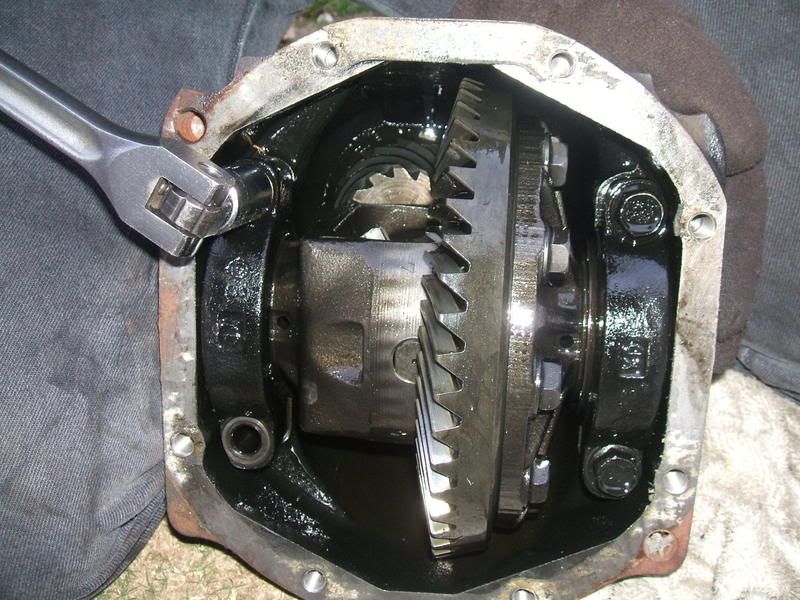
-You can use a wrench or a pry bar, to remove the open differential. I used the wrench and hit one end with a hammer to pry it out.
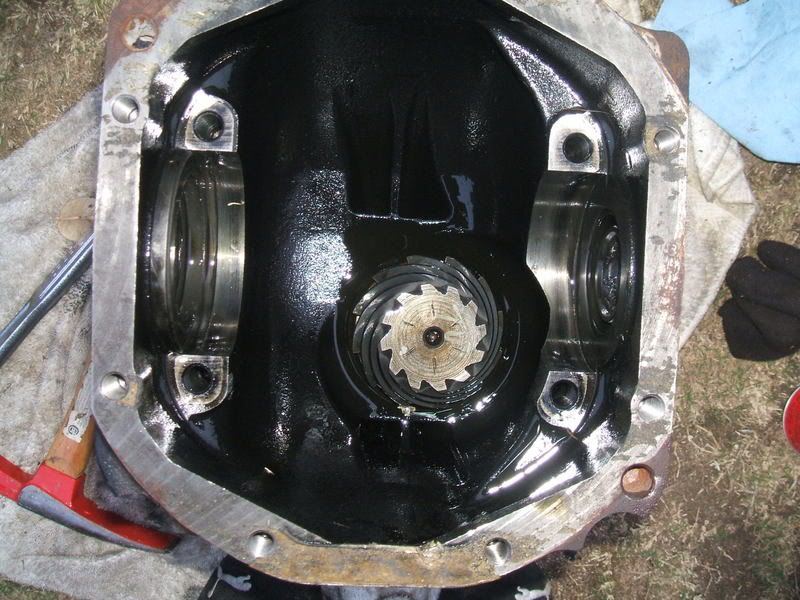
What it looks like once it/'/s removed.
-Be very careful, once the differential is out. Keep the Spacers according to its exact order and side.
Step 5
-With a hammer and flathead, chisel away the old gasket. I recommend to use Gasket Scraper, to avoid any seal failure.
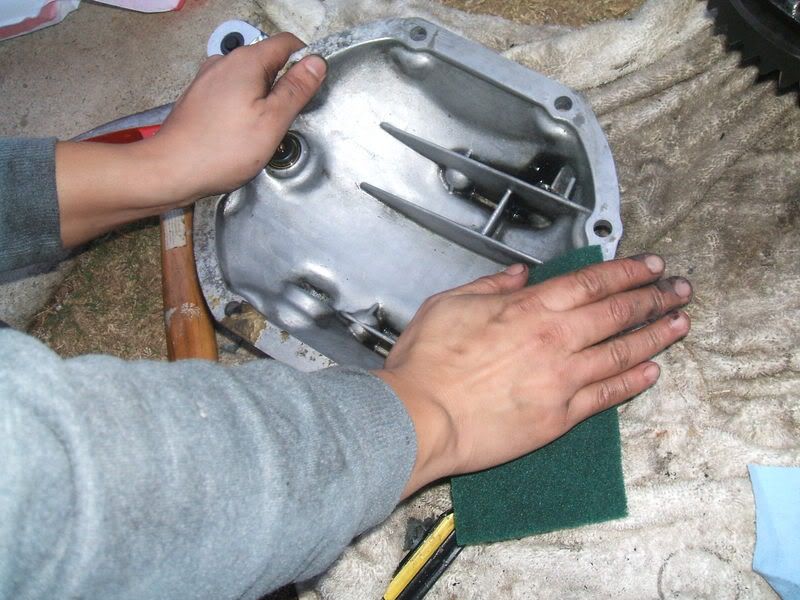
-Do the same on the differential cover. Use Scotchbrite to remove the remaining gasket on the cover and differential.
Step 6
-Spray the inside of the pumpkin with Brake Cleaner and clean the inside the pumpkin, and on the differential cover. Dirt is your worst enemy